In this conclusion to our series of shading formulas, we’ll address the sphere. Also, we’ll learn (or review) the terminology of light and shadow.
The Homeschool Art Club is a community of life-long art students coming together to practice the skills of drawing creatively and from imagination. All skill levels are welcome—jump and experience the joy of drawing!
The Terminology of Light
As we make the transition from “shading” to using light and shadow, value, and tone in our drawings, we’ll need to learn a few new terms.
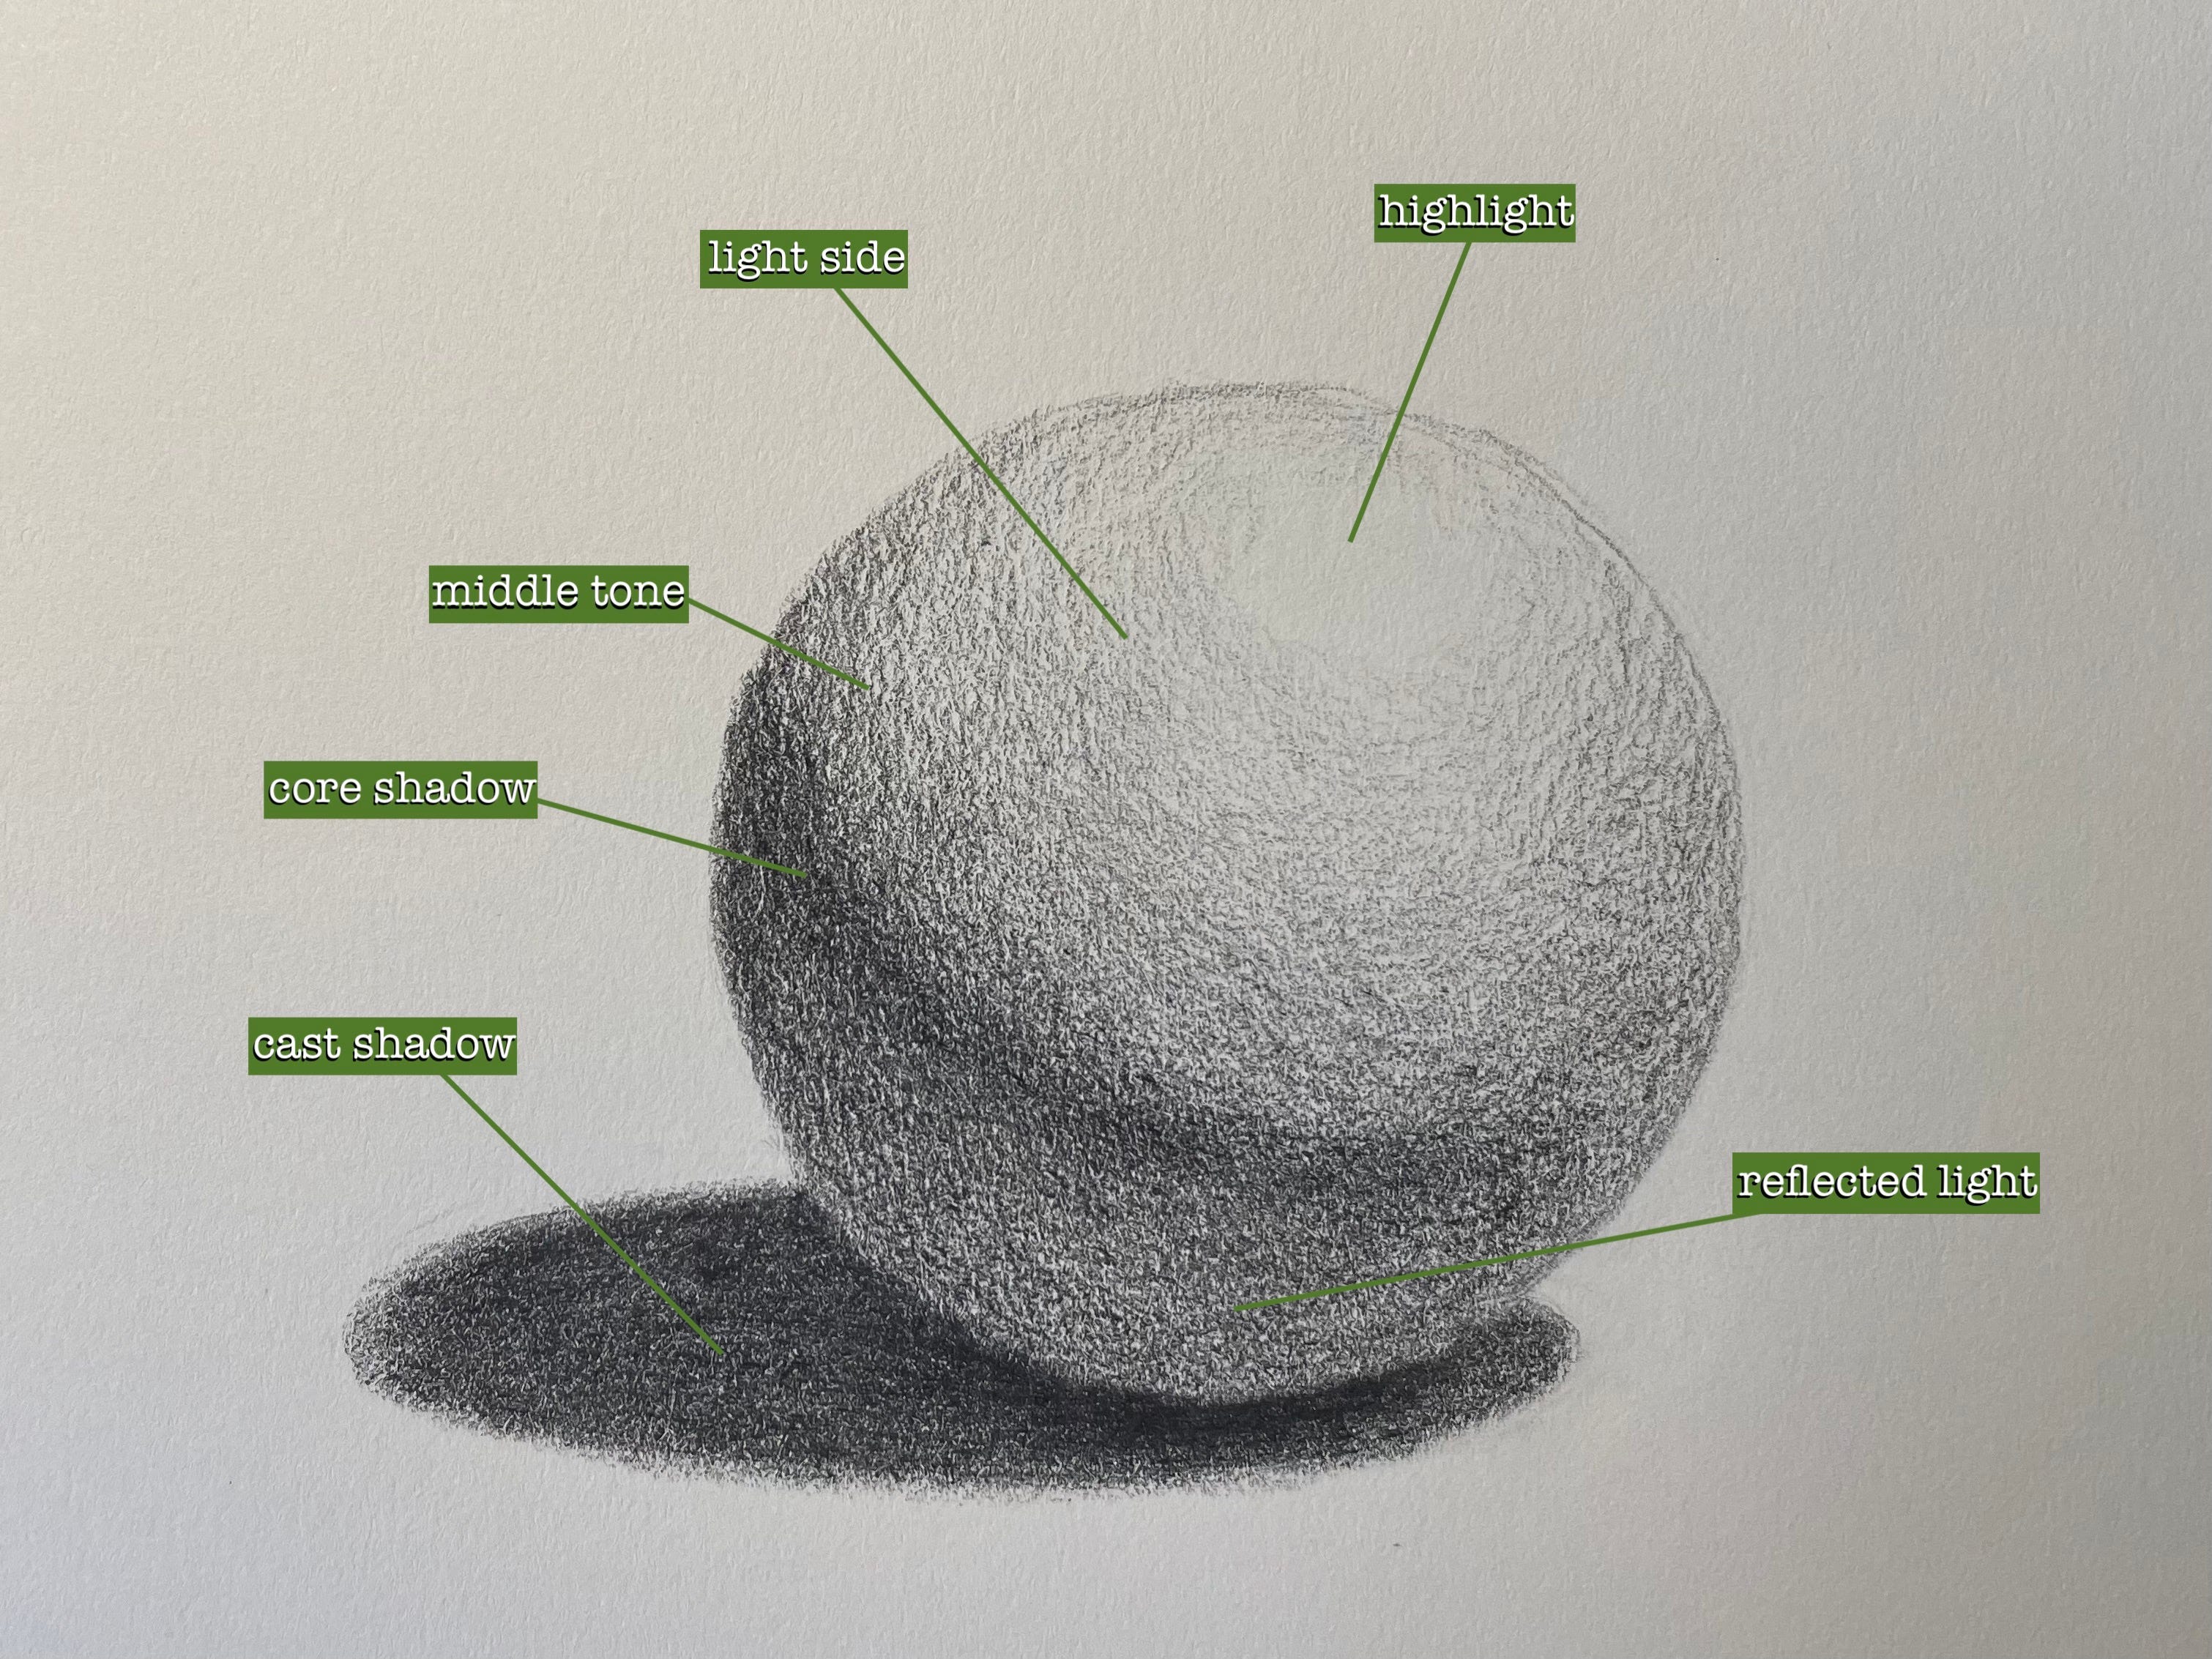
highlight
The strongest light.
light side
The side of the subject that is turned toward or facing the light. The lightest values are grouped on this side.
middle tone
The middle-light values between the light side and the core shadow. Sometimes called the middle light or local tone.
terminator line
The imaginary or implied line between the light side and shadow side of the subject. This is where the form turns away from the light and the shadow begins.
core shadow
The darkest shadow on the subject.
reflected light
The light reflected into the shadow from another surface (e.g. a table). This light is darker in value than the middle tone.
cast shadow
This shadow is cast by the subject onto another surface.
As you practice your sphere shading this week, be sure to memorize these seven key terms.
Learning formulas is an essential part of the imaginative artist’s repertoire—but we’re not limited to the formulas once we’ve learned them. They give us a baseline or frame of reference upon which to invent creatively.
If you haven’t yet, check out these previous lessons to complete your repertoire of basic shading formulas:


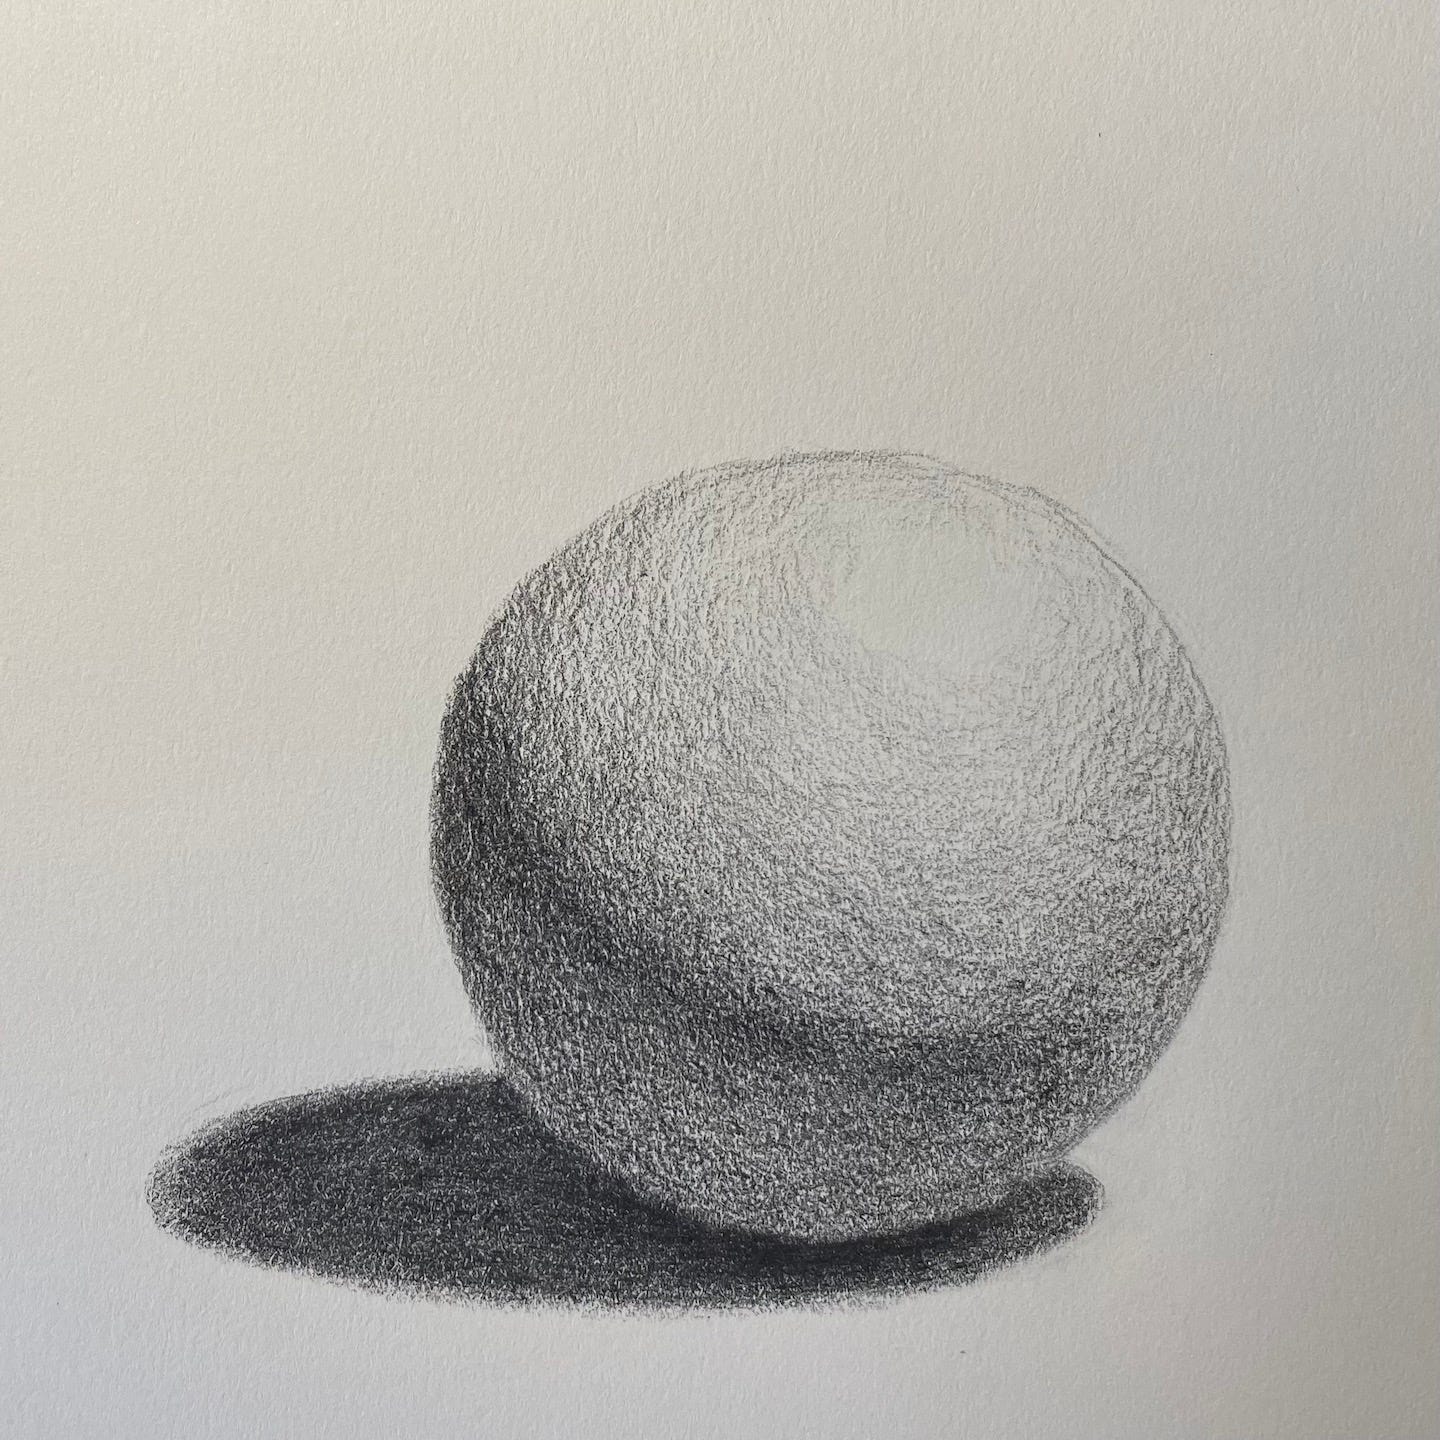
Sphere: Shading Formula
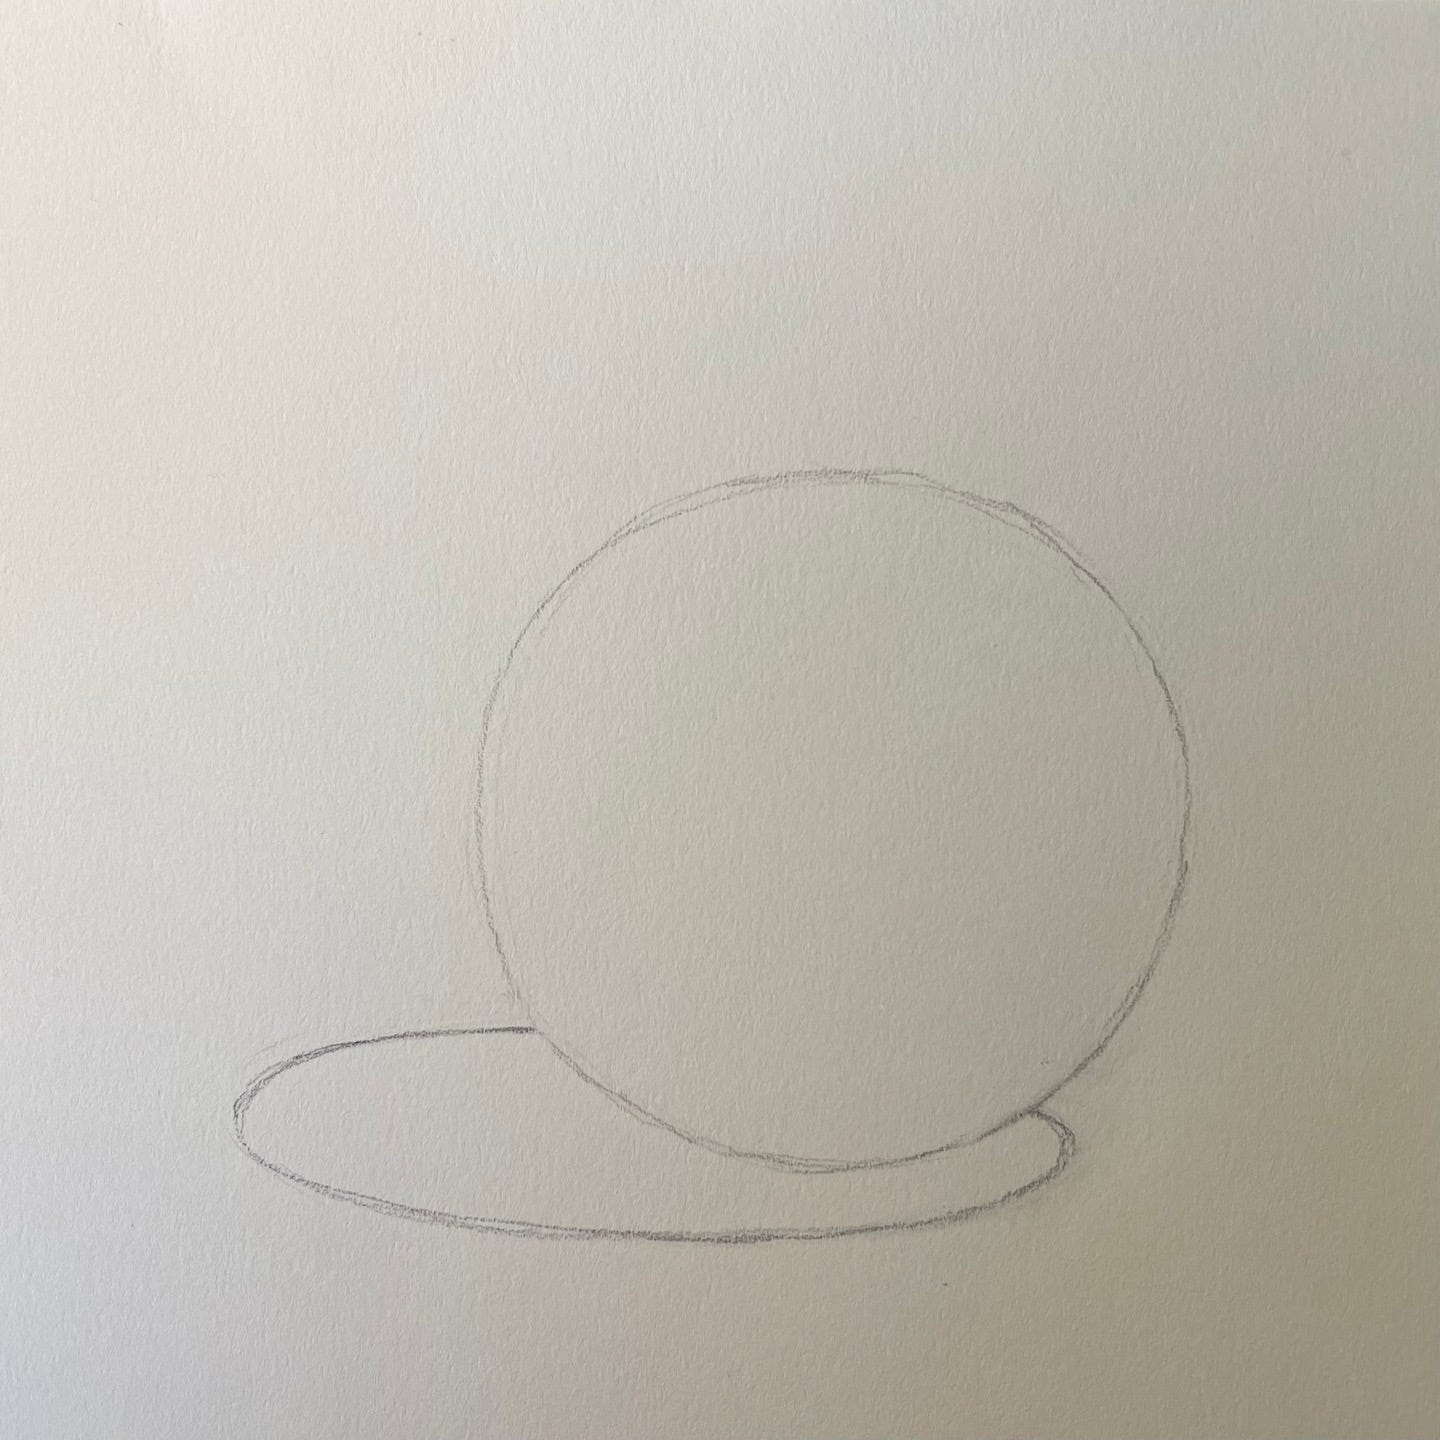
Start by drawing a sphere—or, in other words, a circle. Underneath and overlapping it, sketch in an ellipse, to indicate the cast shadow.
Some tips to keep in mind:
Don’t draw it too small, so you have plenty of room to get your pencil around and make smooth gradations. (About the size of your palm is good.)
Make it nice and round, but draw it freehand and not with a template or drawing compass.
Draw lightly, as always.
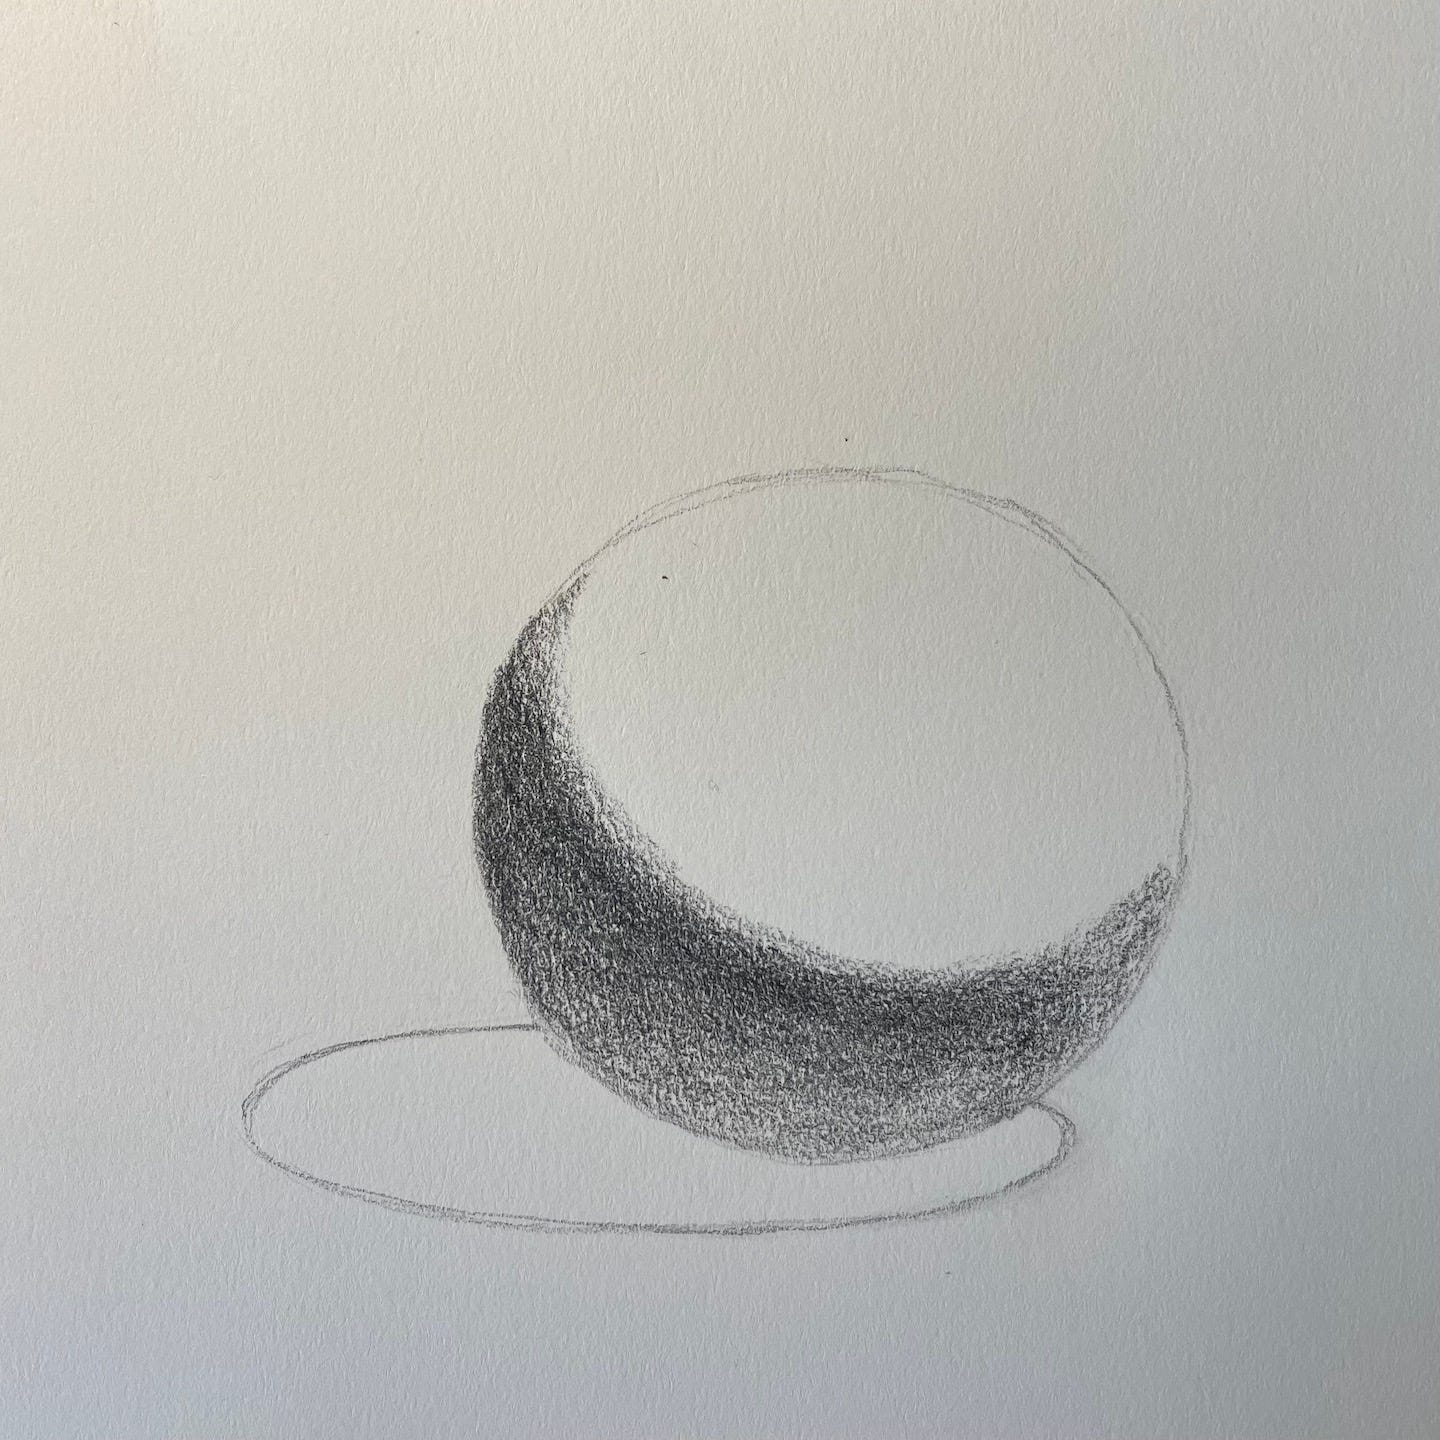
Next: fill in the core shadow. This dark crescent should be placed roughly 1/4 to 1/3 into the circle from the bottom left edge (for this exercise). It must be curved to describe the sphere’s form.
As with the previous shading lessons, stick with the overhand grip on your pencil.
Make your marks only in the direction of this curve.
Turn your paper as needed. Because of the way our wrists move, it’s easer to make this curve if you turn your drawing upside-down.

Then, fill in the middle-dark reflected light underneath the core shadow, up to the sphere’s edge.
Continue to use the overhand grip, and make your marks in a curve that follows the shape of the sphere.
Next, soften the edge of the core shadow, and pull the middle tones into the light side of the sphere. Strive for a smooth gradation.
NOTE: The middle tone must be a lighter value than the reflected light on the opposite side of the core shadow. (Darken the reflected light as needed; sometimes as the drawing progresses you may realize it is too light.)
Be sure to leave a highlight. (You can also “pick out” the highlight with an eraser if you go too far.)
Continue using curved strokes to shade the sphere.
Use a kneaded eraser as needed to lighten tones around the highlight if you are a little too heavy-handed.

Finally, put in the cast shadow. Use side-to-side horizontal strokes and make it roughly the same tone as the core shadow (a dark value). The darkest part of the cast shadow is directly beneath the sphere.
This is a great formula for learning the basics of drawing round form with value. Memorize it! Then, as you draw from life, observe how different lighting conditions alter the shadows. And, when you draw from imagination—you now have a great starting point, with all four shading formulas, to craft fully 3D drawings!
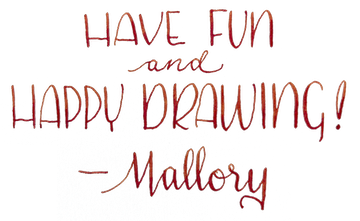
That’s it for this week, folks!