


The Stories of Lines
Practicing the Different Types
Every line tells a story. The artist’s job is to learn a vocabulary of lines and then match them appropriately with what they are drawing. When the artist does this well, even simple line drawings seem to come alive.
In this lesson, we’ll learn (or review) the different types of lines, and put them into practice.
The Homeschool Art Club is a community of life-long art students coming together to practice the skills of drawing creatively and from imagination. All skill levels are welcome—jump and experience the joy of drawing!
Straight Lines
Straight lines tell the story that the subject is flat.
There are three kinds of straight lines, and each tells a slightly different kind of story.
Vertical Lines (or Up-and-Down Lines) tell the story that the subject is flat, and also upright—like a wall.
Horizontal Lines (or Side-to-Side or Lying-Down Lines) tell the story that the subject is flat and lying down—like the floor or the ground.
Diagonal Lines (both Up Diagonals and Down Diagonals) tell the story that the subject is flat, but at an angle different from the wall or the ground. Or a diagonal line can tell the story that the subject is flat and receding into the background.
These are not rules but they are good guidelines to start with.


When you practice, it is important to draw your lines slowly, carefully, and in a controlled manner. Try to make your lines as straight as you can without using a ruler. (All of these are to be done freehand, without a ruler.) As you add each new line, try to make the space between the lines consistent.
Line practice is great to do when talking on the phone, waiting in line, watching a movie, etc. It’s not necessary to do a whole lot at once—just use them as warm-ups and doodles, and only go as long as you can stay focused on doing a good job.
Once you’ve practiced these four types of straight line—counting both Up Diagonals and Down Diagonals—try applying them to a box. (If you don’t know how to draw a box, you can review that lesson.) Try as many different combinations as you can think of.


Then ask yourself which combination tells the story of a 3-dimensional box best? Answers may vary, and that’s okay—it’s more important that you use the lines intentionally to get the effect you want.
TIP: Practicing linework is mostly about muscle memory, and not actually about the lines themselves. It is better to practice a small amount and draw them in a slow, controlled manner than it is to fill a page—esp. if it is filled quickly and sloppily. You have accomplished nothing if you practice in that manner.
For very young children (and even brand-new adult beginners) drawing even just one or two lines WELL is sufficient practice at any one time. Instead of a large quantity, practice with greater frequency: a couple lines every day, or a few times each day, and build up to doing more over time.
For everyone, two minutes a day on linework is plenty. (I call it a 2-Min Warm-Up for that reason.) If you’d like to draw more, by all means do so! Carry on and draw something else, something you enjoy, and apply what you’ve learned about lines.
You will be surprised at how rapidly you can improve when you practice in this way—even with just a couple intentional, controlled lines each day!


Enjoying the Homeschool Art Club? Share it with someone you know and help this community grow!
Curved Lines
Curved lines tell the story that the subject is round.
There are two kinds of curved lines, but the story they tell depends a little bit on the context of the rest of the drawing.
C-Curves tell the story that the subject is round—either concave (hollow) or convex (sticking out).
S-Curves tell the story that the subject is round with both concave and convex parts.
Practice many C- and S-Curves. Notice that you can make them flatter—nearly like a straight line—or very rounded, like a semi-circle. Practice as many variations as you can, but be intentional about which type you are doing.
When you practice, it’s important that you draw neat, smooth curves. Just like with straight lines, do not go fast. Draw in a steady, controlled way.
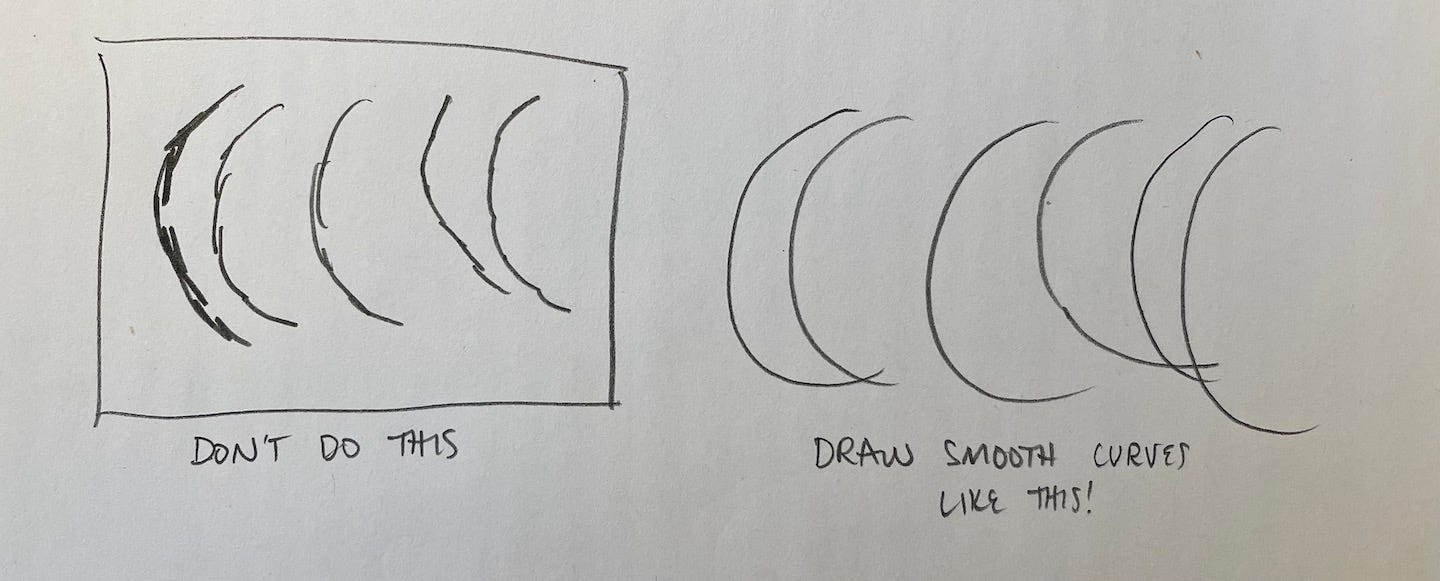
NOTE: Sometimes students start drawing curves with repeated or “hairy” lines. Unless you are doing that deliberately to tell the story of a hairy subject, the story it really tells is about the artist’s lack of confidence!
It is better to draw an incorrect curve than a hairy one when you’re practicing. Remember—what you’re really practicing is muscle memory. Help your muscles develop confidence by drawing confidently.
TIP: If you make a mistake, draw a more correct line over the top without erasing. You can do this several times before you “find” the line you want. If you practice in this way, you will develop better hand-eye control, and be able to draw neat, confident curves much more quickly than if you use your eraser.
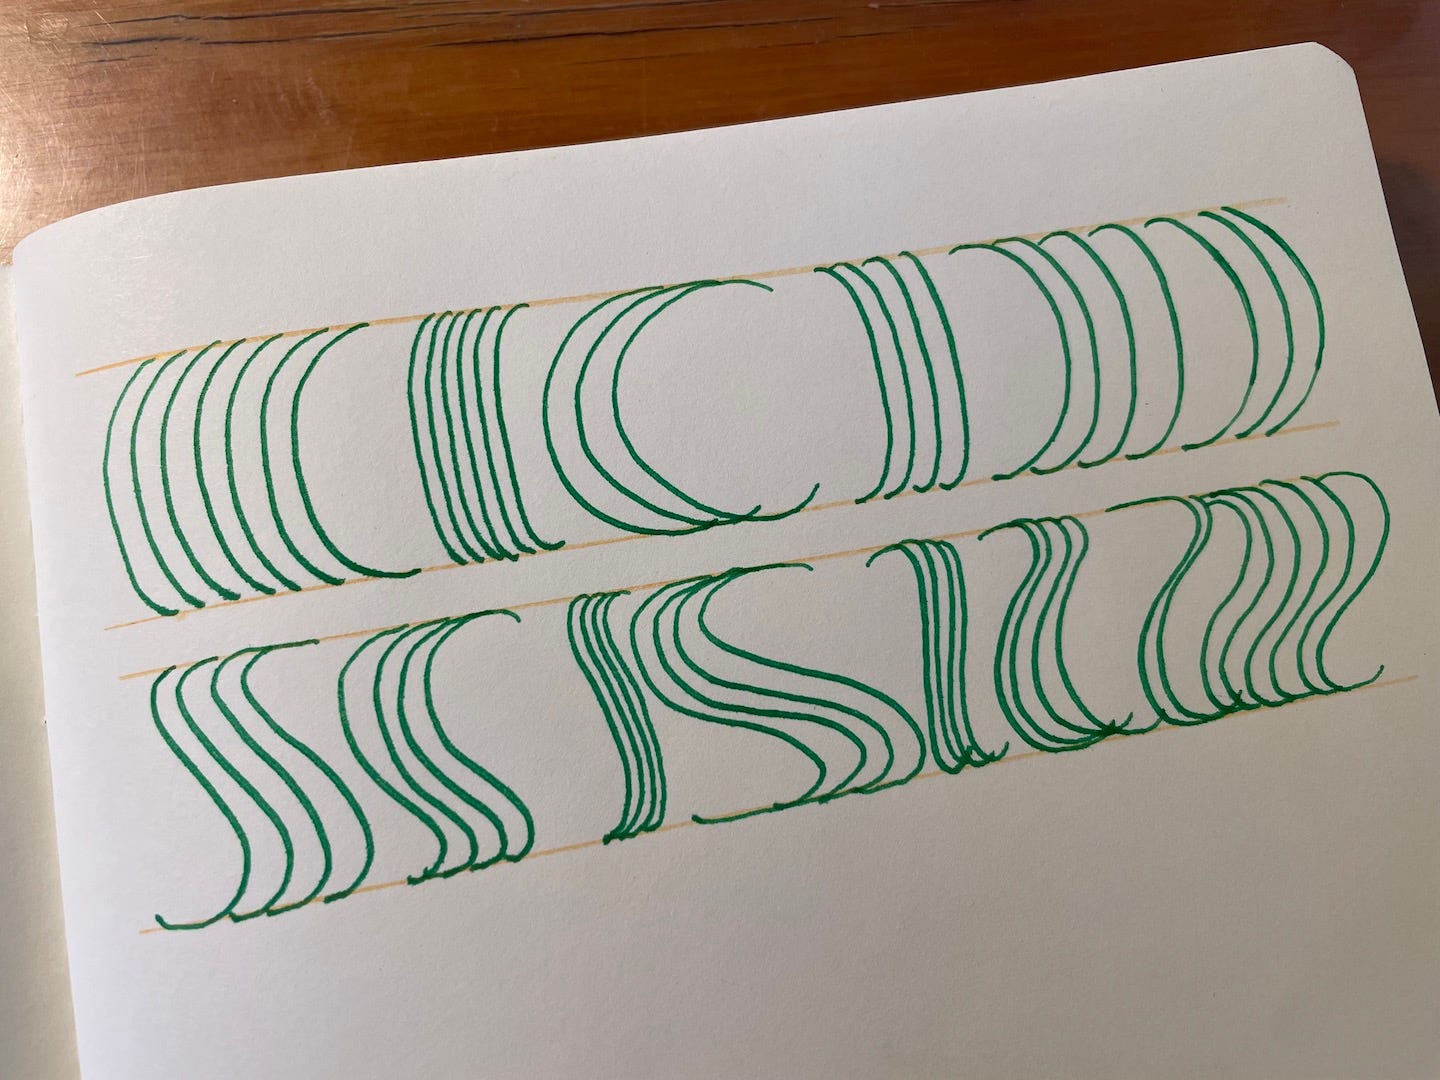
Do a series of concentric curves to practice consistency. C-curves done in this way will look like a row of parentheses: ((((((((( and )))))))))).
It’s also a great practice to draw mirror-image curves, because so many things we like to draw are symmetrical! Draw one curve, then carefully try to draw its mirror image. This takes practice!
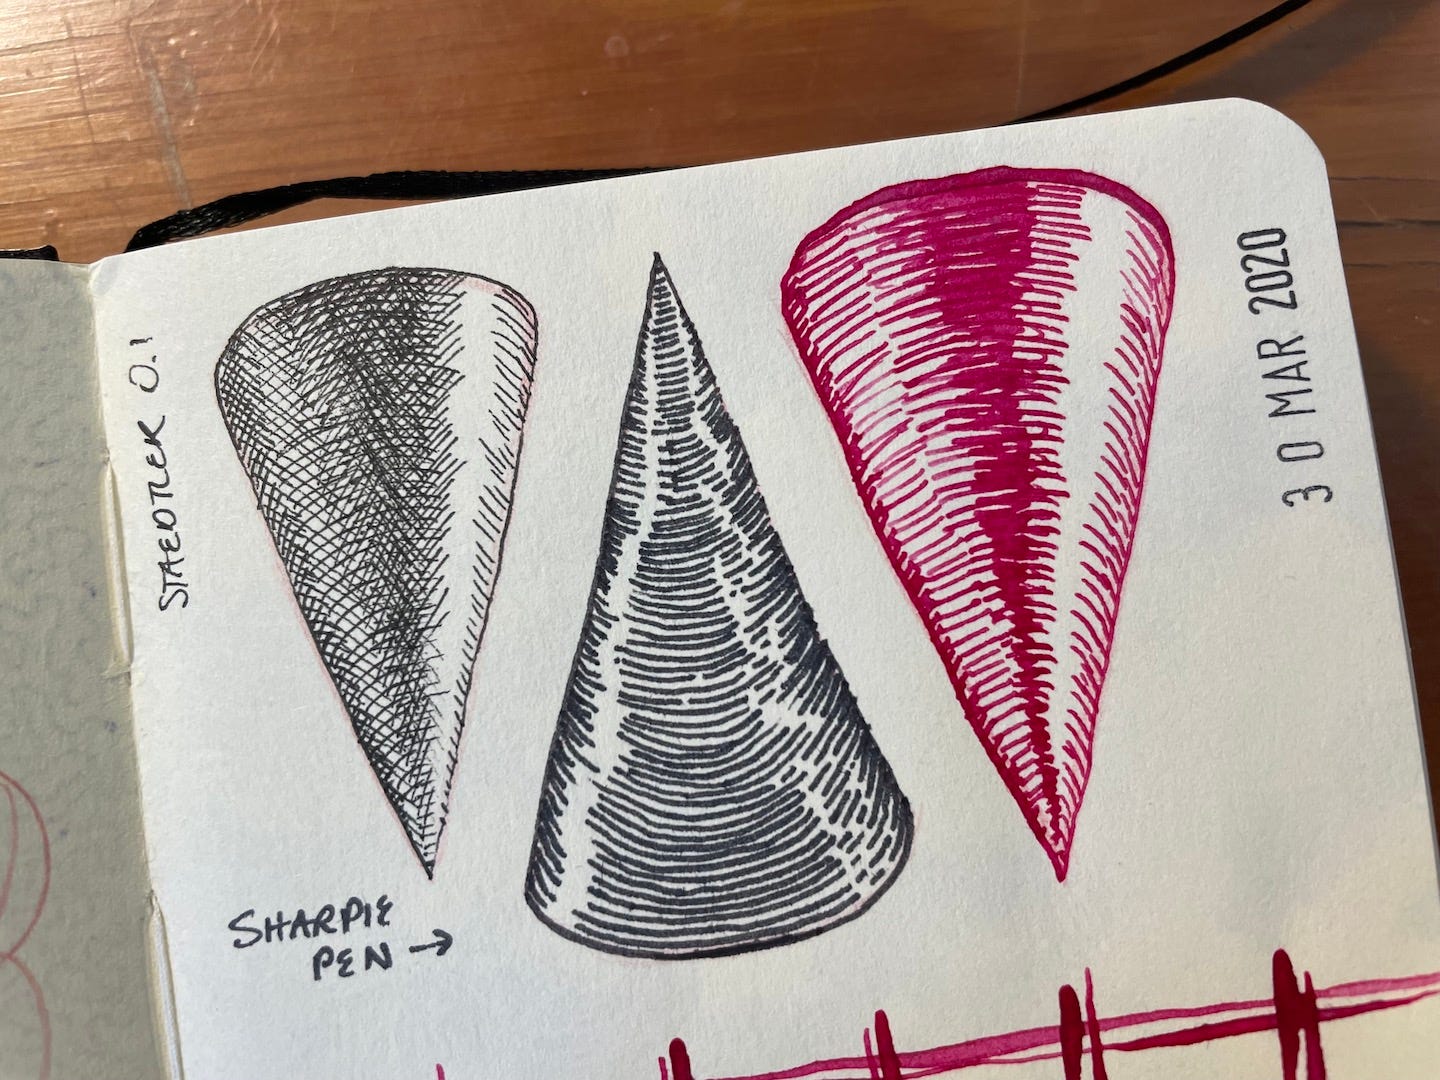
Once you have practiced curved lines like these and can do them fairly neatly and consistently, practice applying them to very simple drawings of round objects, such as a ball or cylinder or cone.
You may notice as you practice that it’s difficult for our eyes to tell whether a curved line is concave or convex until it’s a part of a closed shape.
When two c-curves are joined to make a circle, we can see that it’s a convex form. When we combine two mirror-image s-curves to make a vase, we can tell which part of the vase is curved in (concave) and which part sticks out (convex). This context helps us tell the story of the round object we are drawing.


Show what you’ve learned!
Most drawings begin with lines; some are finished with them. For the developing artist and the master alike, it’s well worth putting in the time and effort to practice their lines to gain and maintain mastery over these versatile marks.
After practicing, do a drawing and apply what you have learned. You can draw anything that you would like, but think about how you can use these types of lines to tell the story of what you’re drawing.
If you’d like, share your drawing—or your line practice!—with me in an email, or post them to the Substack Chat. I’d love to see what you come up with!

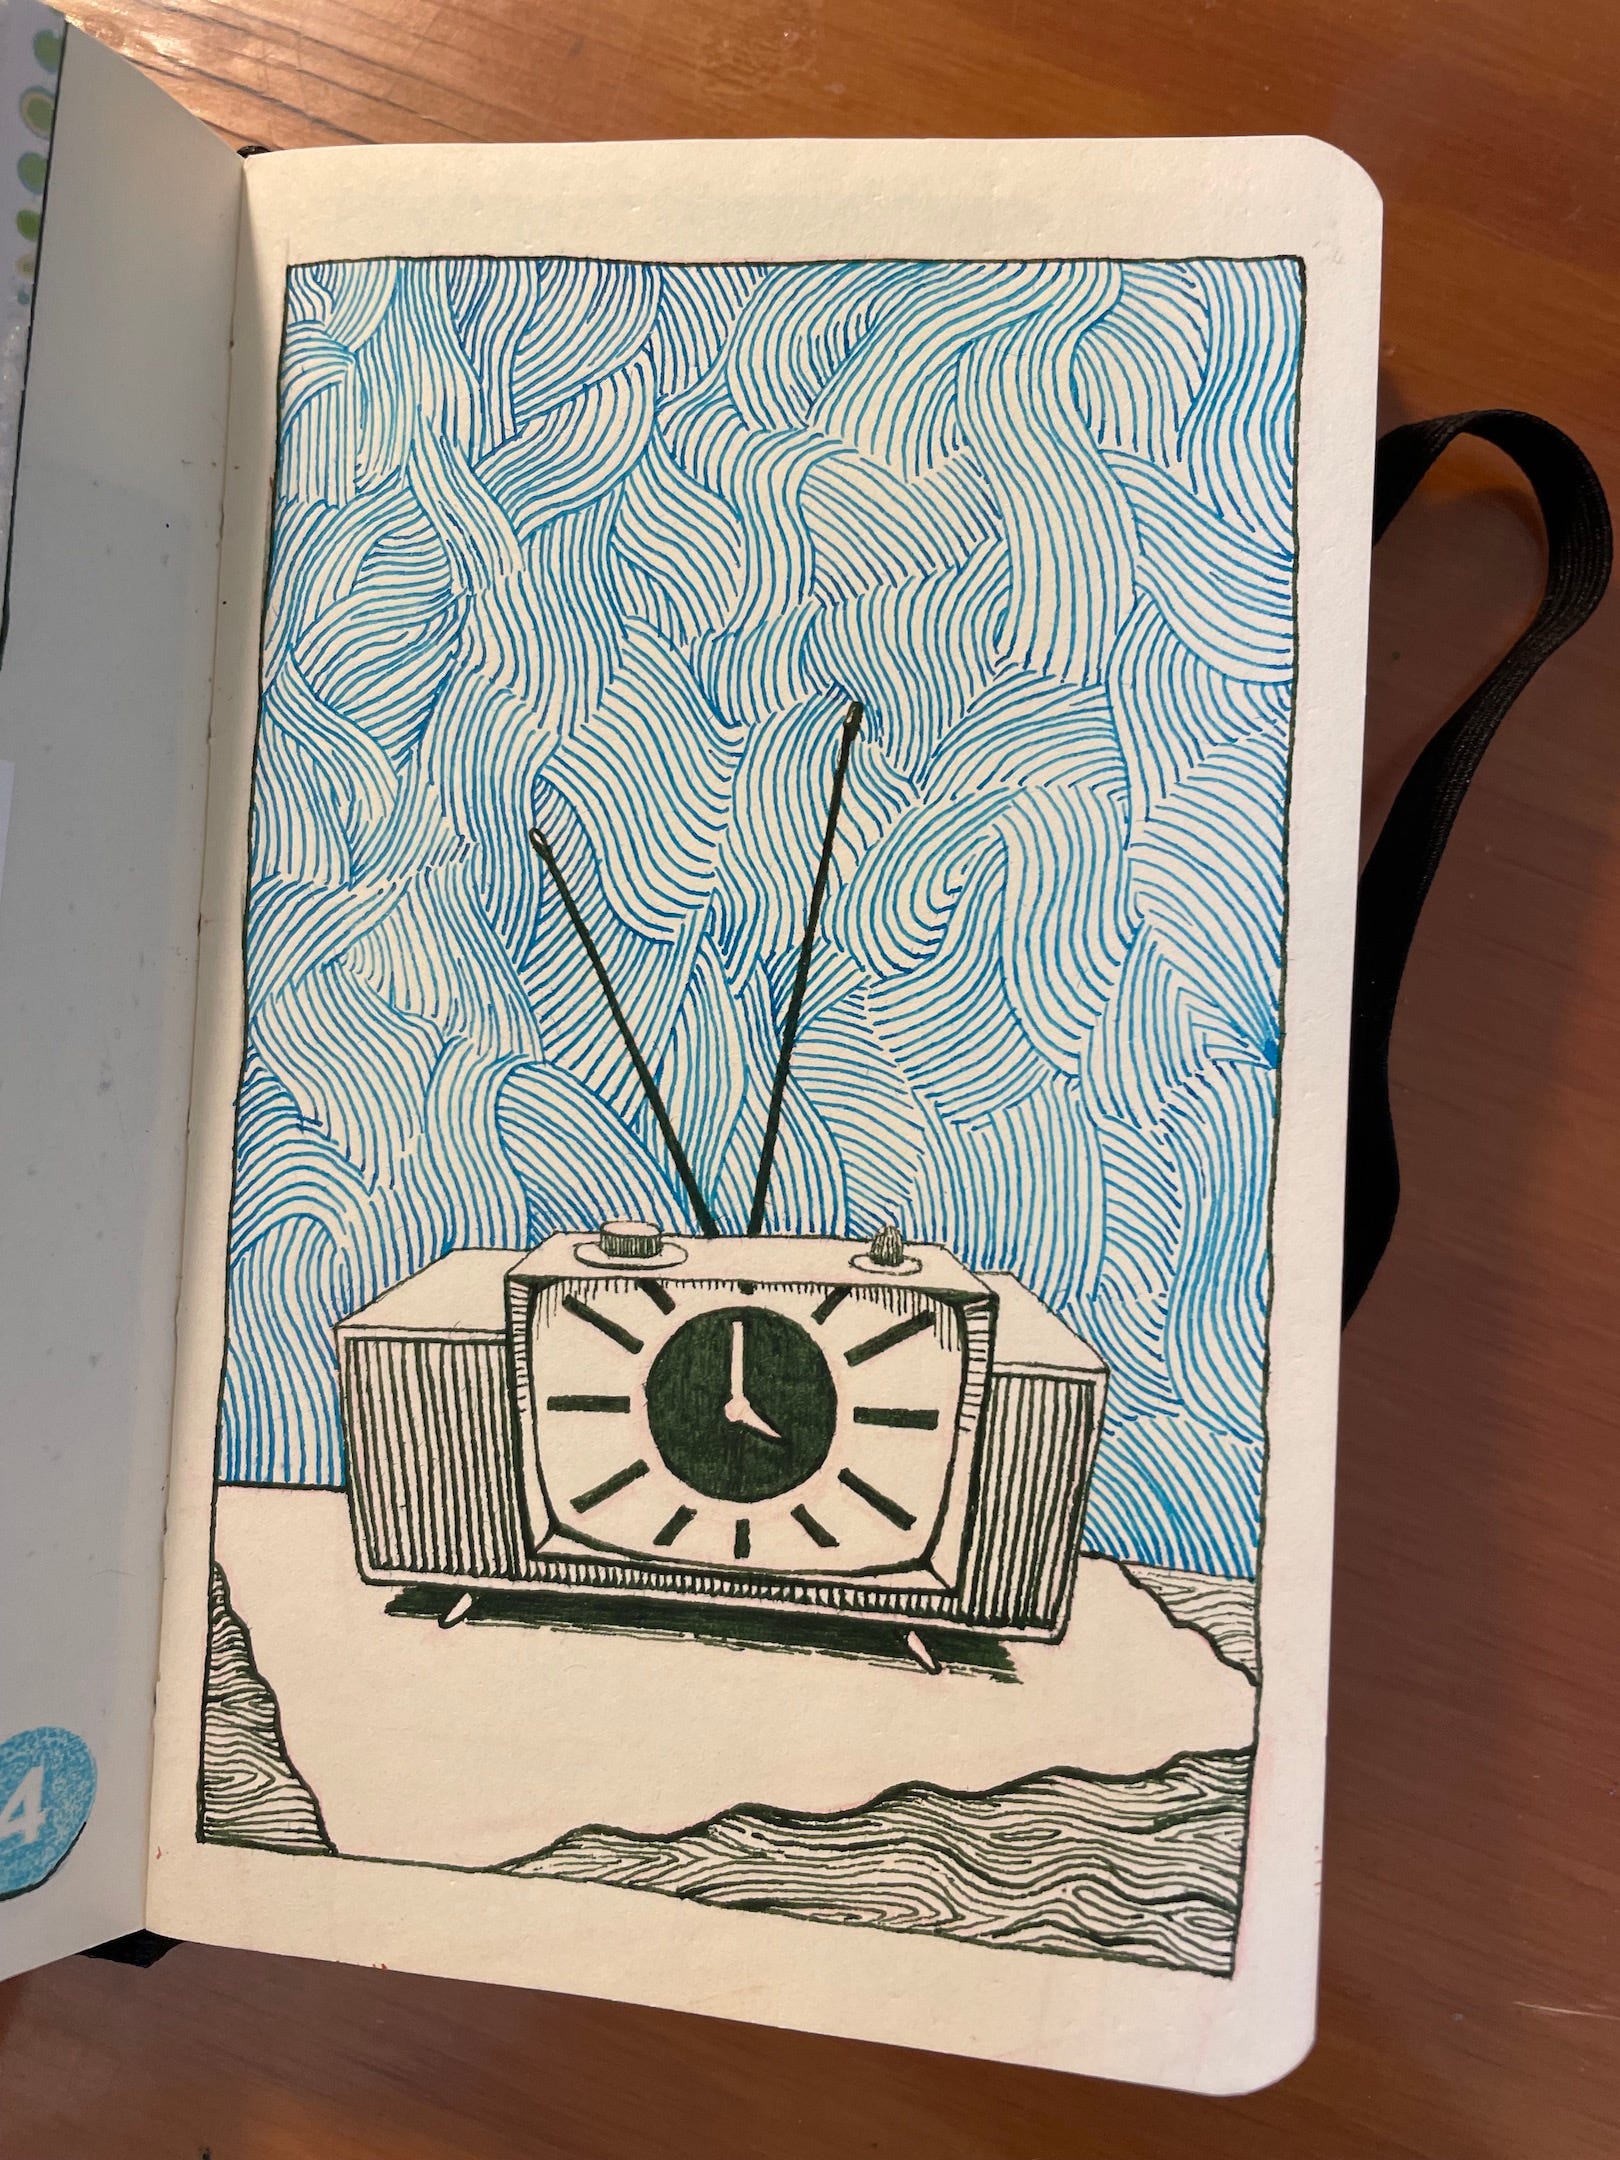
I loved the clock drawing! So cool! Interesting and motivating to see how you can apply drawing lines.